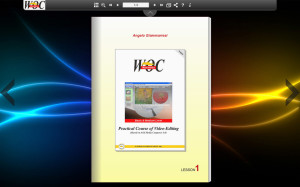
Lesson 1: Introduction – Initial Settings – Create custom windows
Language: English
NOTES: In this lesson, I explained the basics to create a project and set up properly, and are useful for any standard (PAL / NTSC) and format (Standard Definiton – SD / or High Definition – HD).
# When you create a project, keep in mind that it is always better to choose the parameters used during your shoot.
# If instead you should use material of different formats, then choose the format you use to export the final video.
# In practice, if you shoot with a normal camera and you have to create a DVD or record the edited video on a videotape, select a project 25i PAL or 30i NTSC, according with your country standard.
# If your footage will be saved to disk on a Blu-ray or HD support, choose the corresponding project to your footage format.
# It will be possible to change within certain limits the size of the project during the editing, however, will need to re-render all effects created up to that point.
TIPS: Create the project on your main hard drive and instead put the files OMFI or Media files on an external hard drive, making sure that the file folder is always at the root level.
# For instance G:\OMFI MediaFiles and not G:\myfiles\OMFI MediaFiles.
 Click on the picture to access the lesson
© Copyright 2014 – World On Communications di Angelo Giammarresi

